Simple Notification Service (SNS) is a handy AWS product which enables programmatic publication and subscription to topics. They can be as simple as email or SMS or involve more complicated services complicated like Lambda, SQS, HTTP, etc. The write-up below walks through the process end-to-end from installing the AWS PHP SDK to publishing your first message as an SMS/text message. With a small amount of additional effort, one could quickly expand this to use cases like weather/emergency notifications for office buildings/schools.
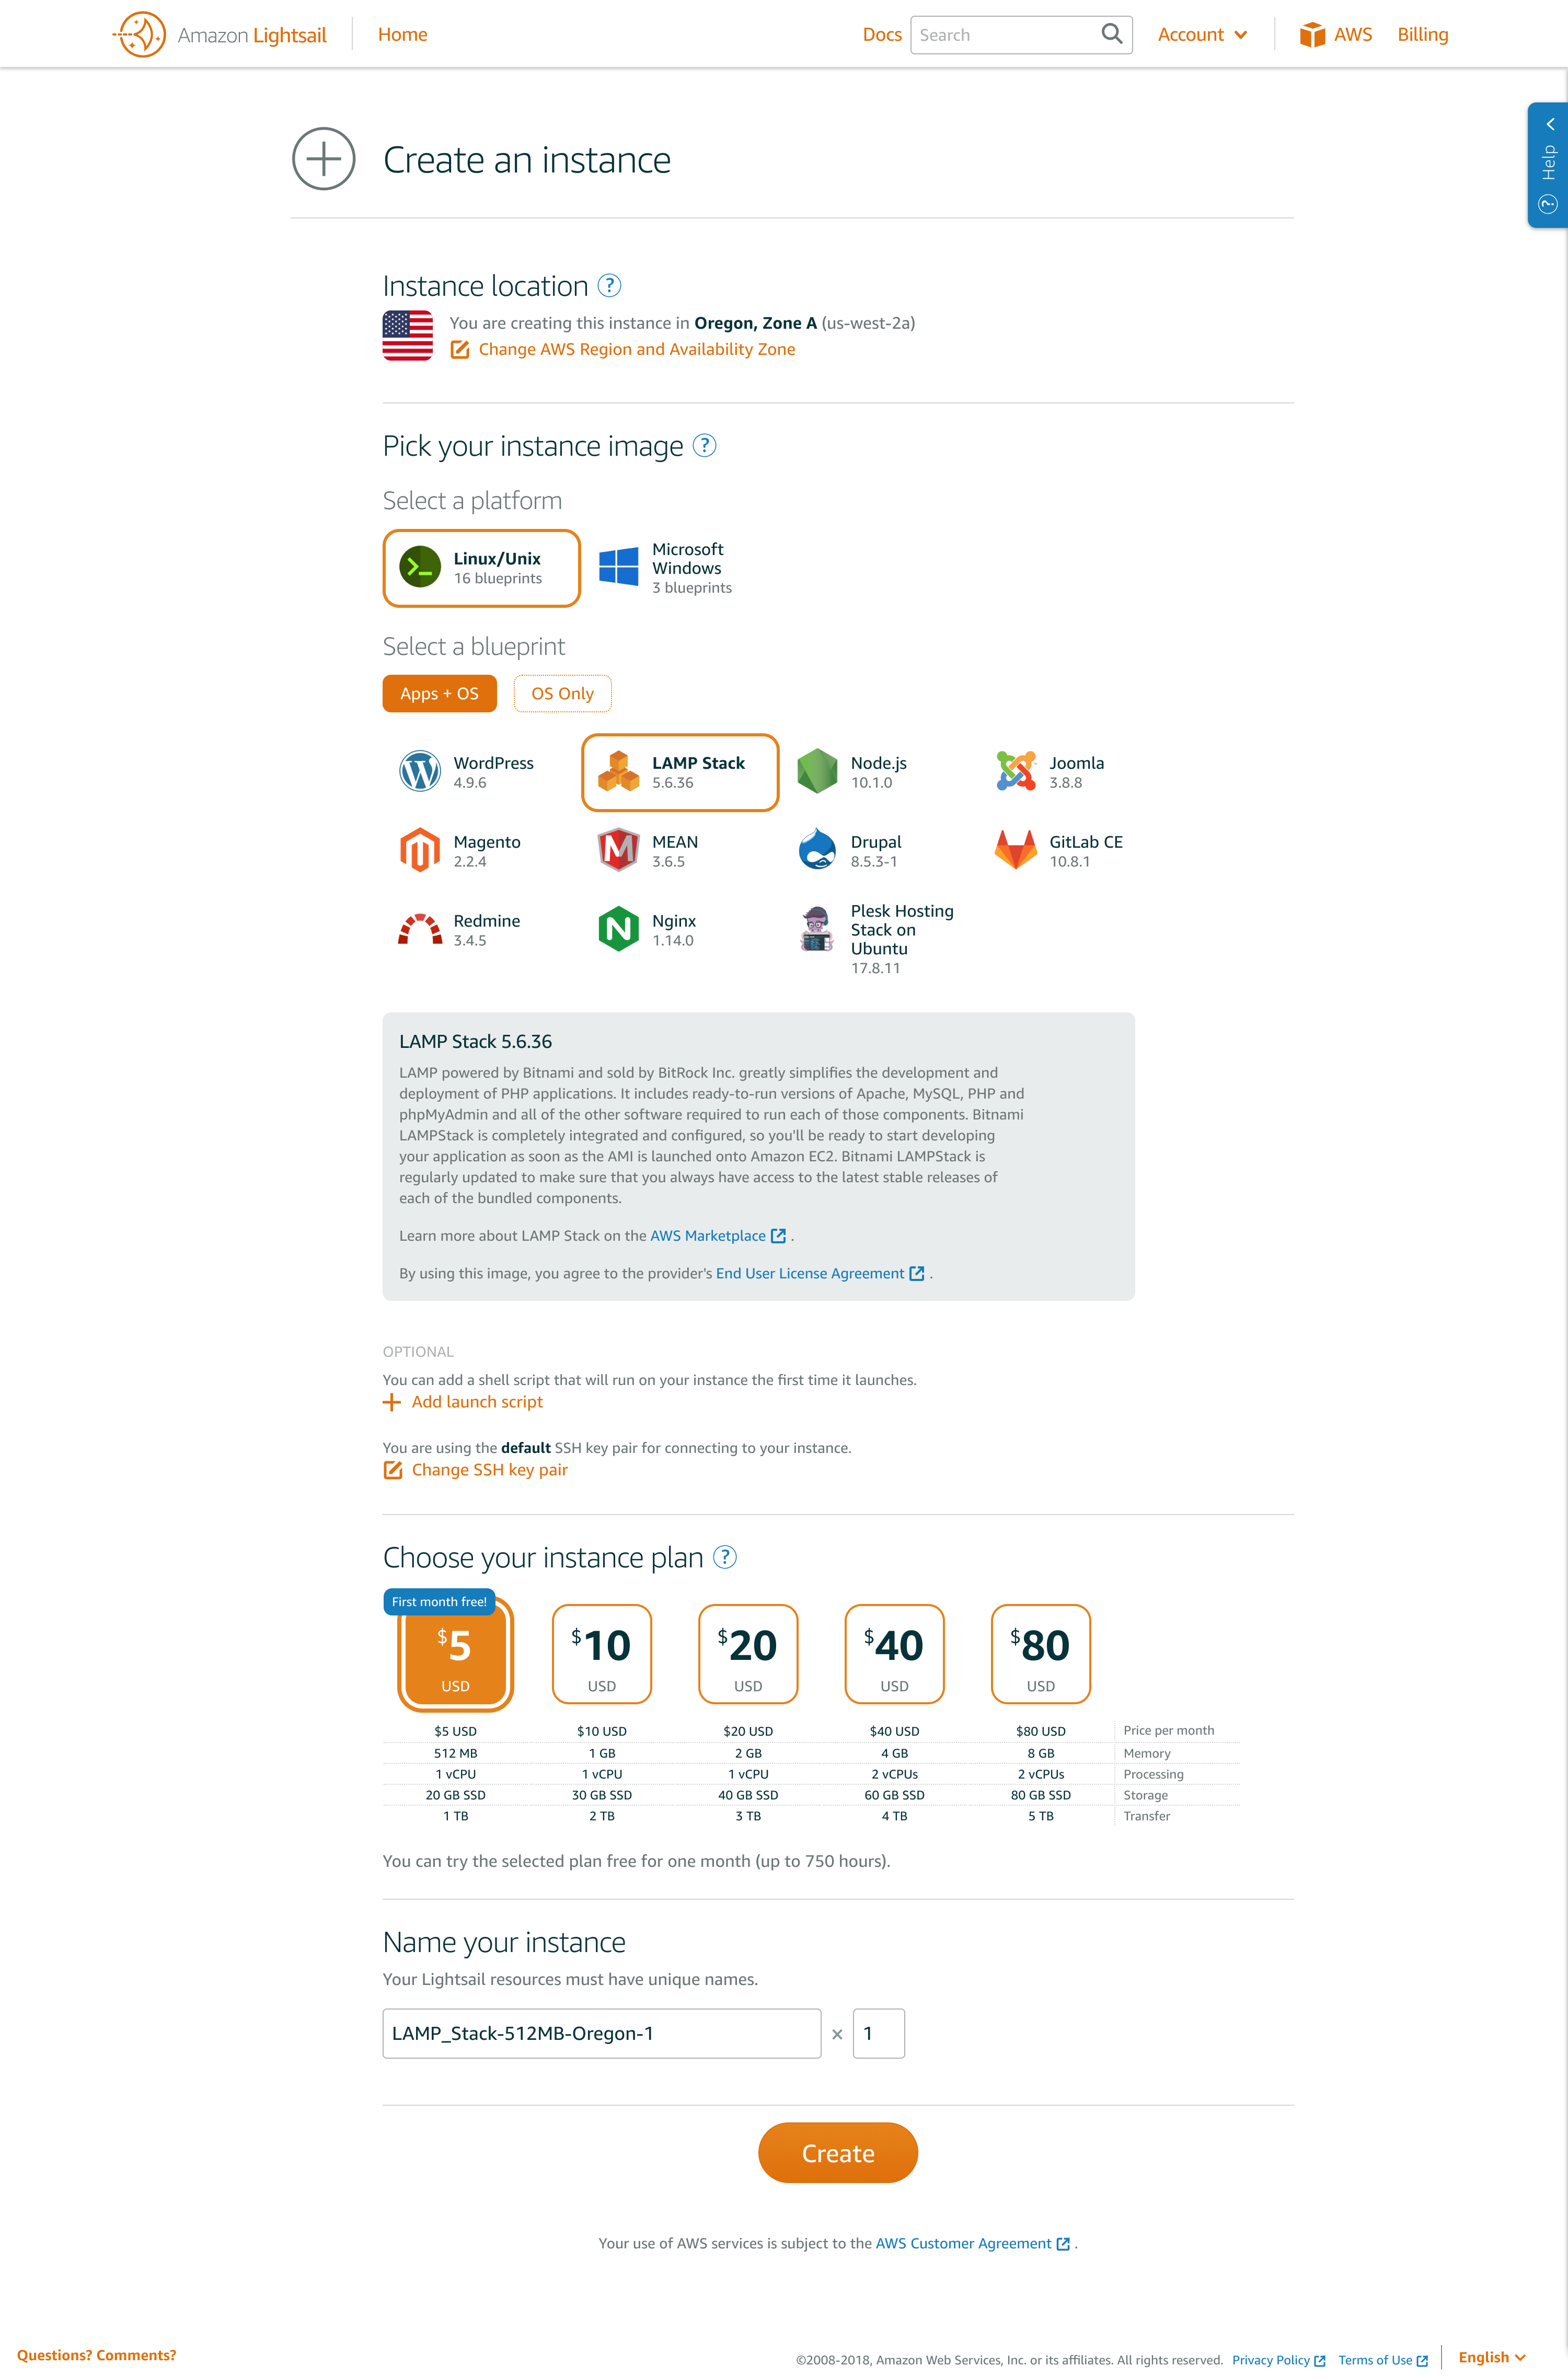
The first two steps are one-time setup, walking through AWS PHP SDK installation and IAM Role creation (something new to me). The remaining steps are a rinse-and-repeat process so future SNS projects should only take minutes to setup. For this example, I spun up a LAMP instance in Lightsail so my approach is tailored to this default config.
Step 1: Installing/Prepping the AWS PHP SDK
We’re going to do this by using Composer so let’s install that: curl -sS https://getcomposer.org/installer | sudo php
Next, we’ll create composer.json to add the right dependency for the AWS SDK: sudo nano composer.json
And inside composer.json, we’ll add this requirement:
{
    "require": {
        "aws/aws-sdk-php": "2.*"
    }
}
Lastly, we’ll install the dependencies: php composer.phar install
The end result should be the presence of ./vendor for your project directory. This is where the needed libraries will live and an autoloader script which you’ll add as a requirement to your project (noted below).
The next thing we’ll do is setup the the credentials file to house the IAM credentials for this project (and any future projects). We’ll do this by creating a .aws directory and then creating a credentials file within that directory: sudo mkdir .aws cd ./.aws sudo nano credentials The credentials file structure is outlined in detail here. Our credentials file will look like: [sns-project] aws_access_key_id = ... aws_secret_access_key = ... Here’s a recording of step 1 as I went through it:
Step 2: Creating the IAM credentials for your project
Now, let’s create the IAM credentials we’ll need to plug into the credentials file.
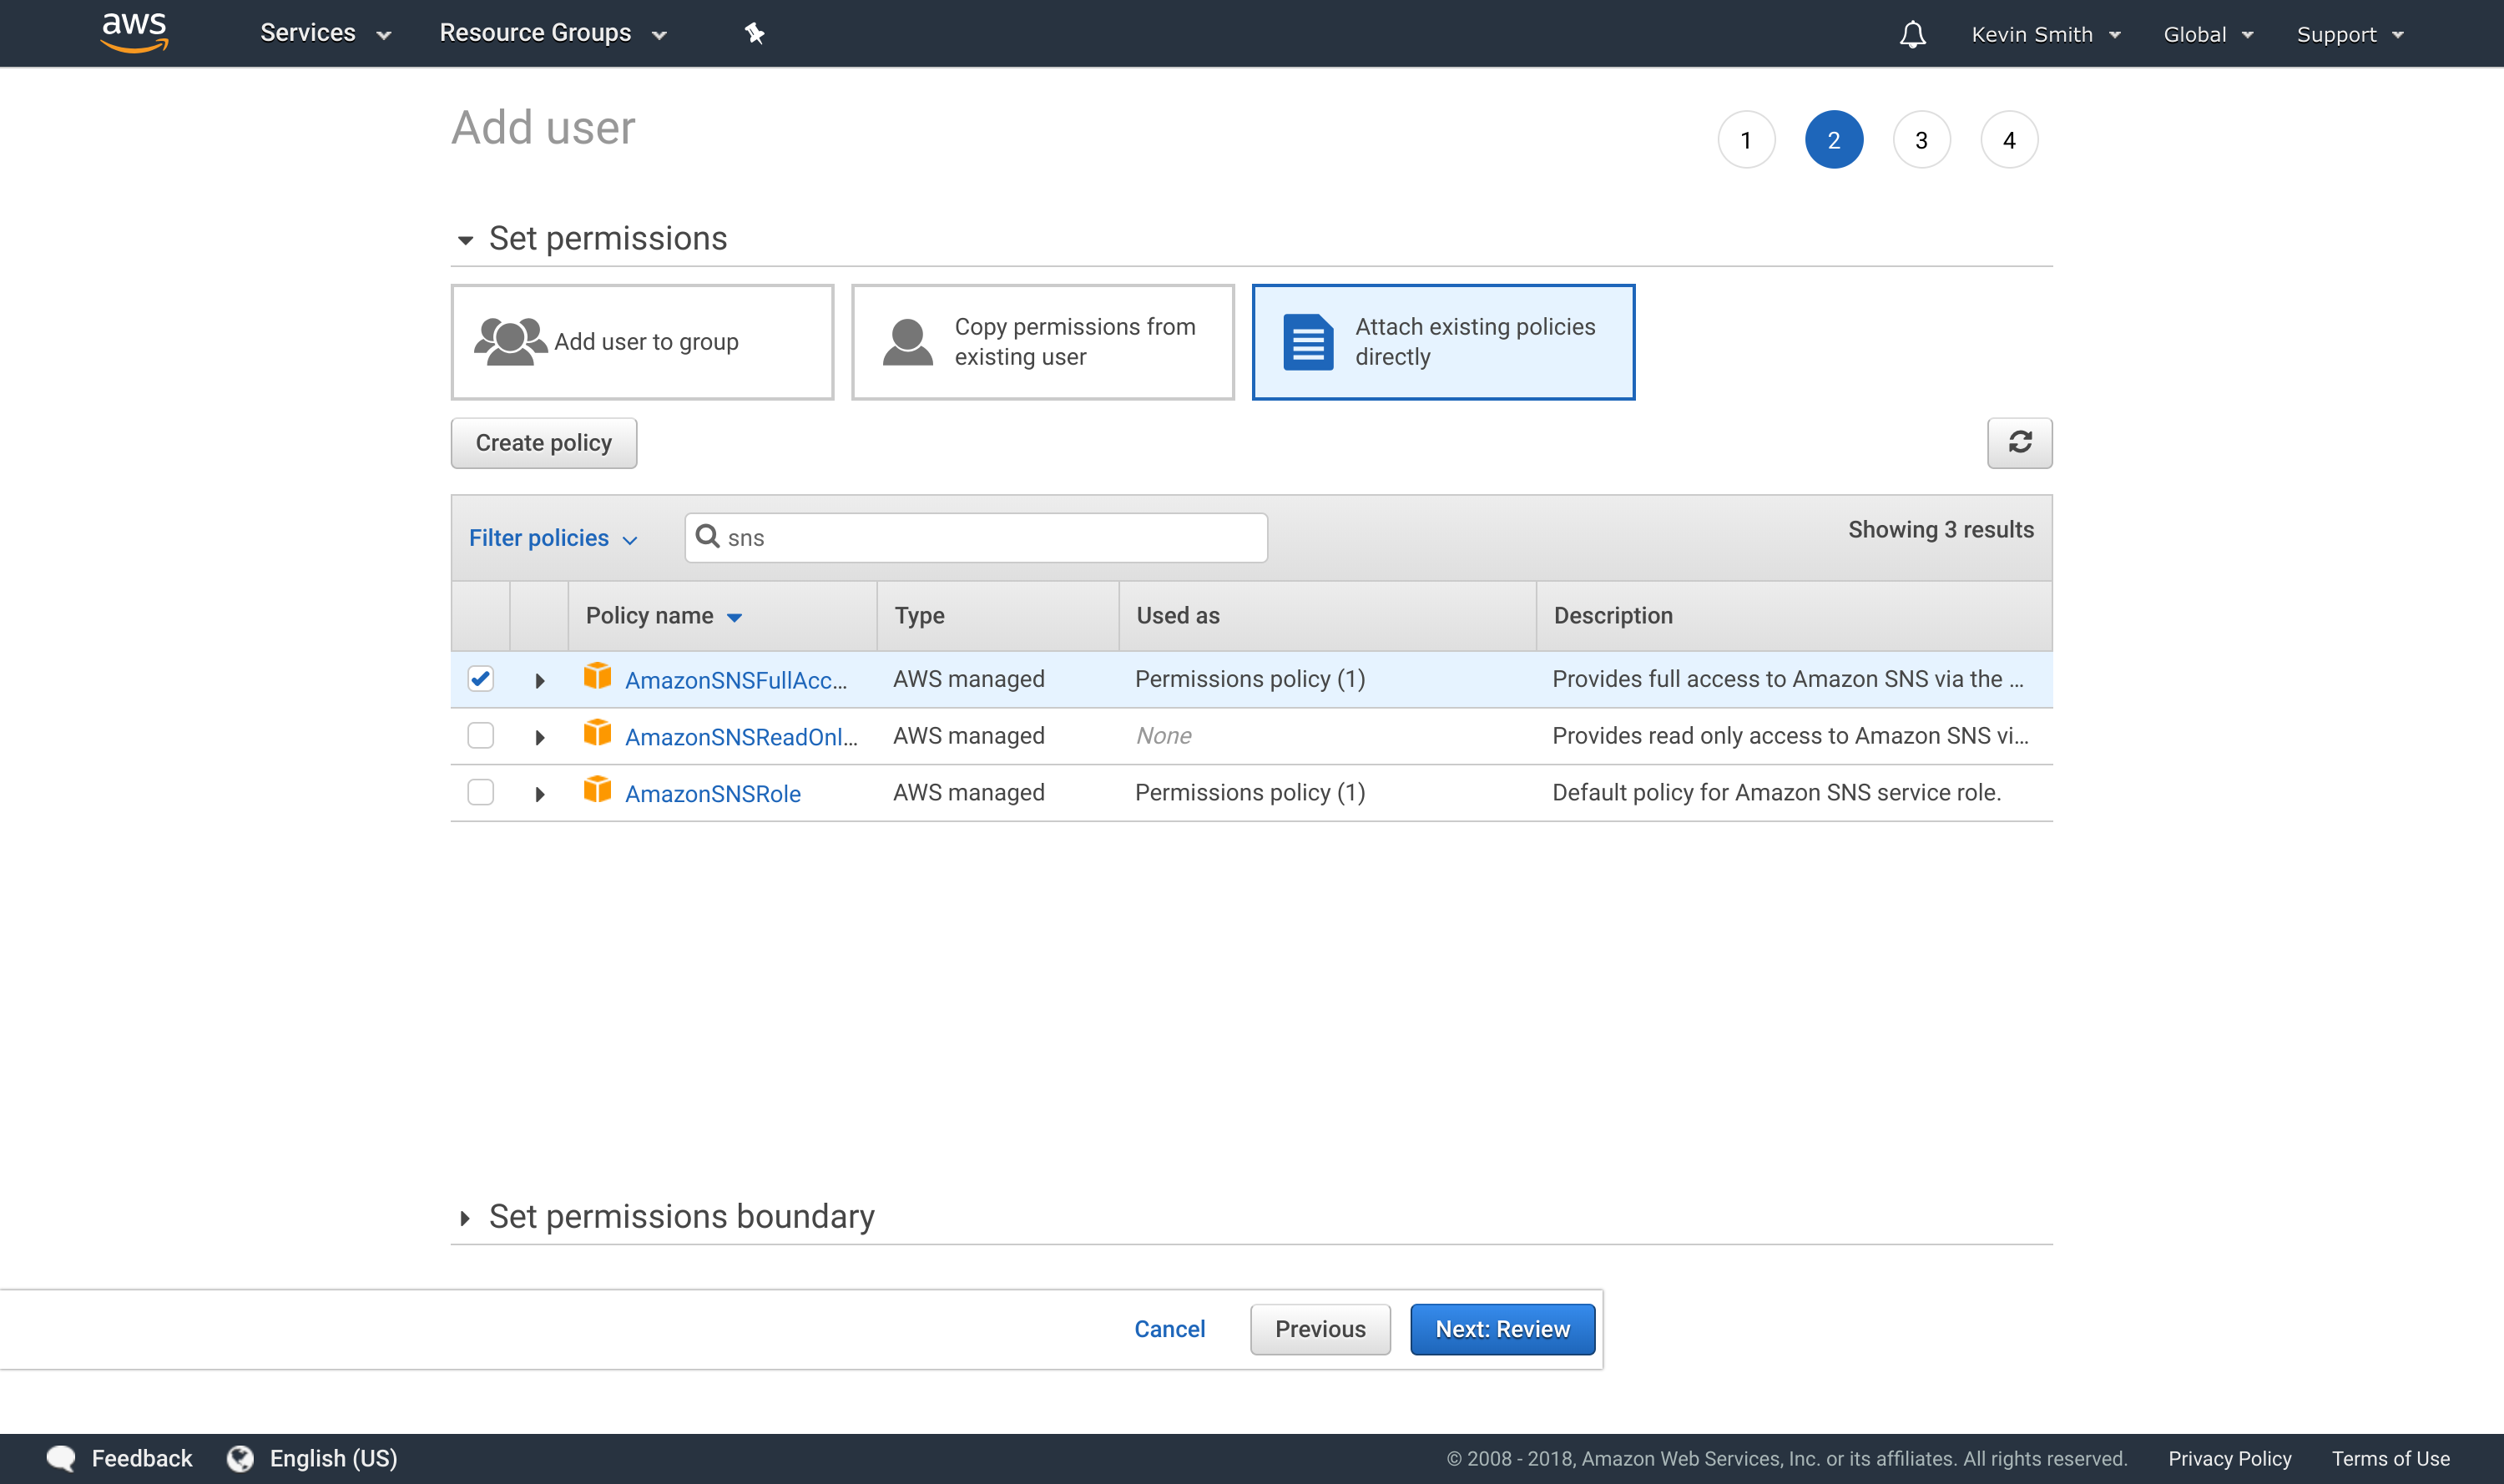
- Navigate to the IAM Console and select “Users”. Click “Add User“.
- Name your project (should match what you’ve loaded in your credentials file- ours is “sns-project”) and check the Programmatic Access box.
- Use the existing “AmazonSNSFullAccess” policy and click “Review” to verify everything is correct.
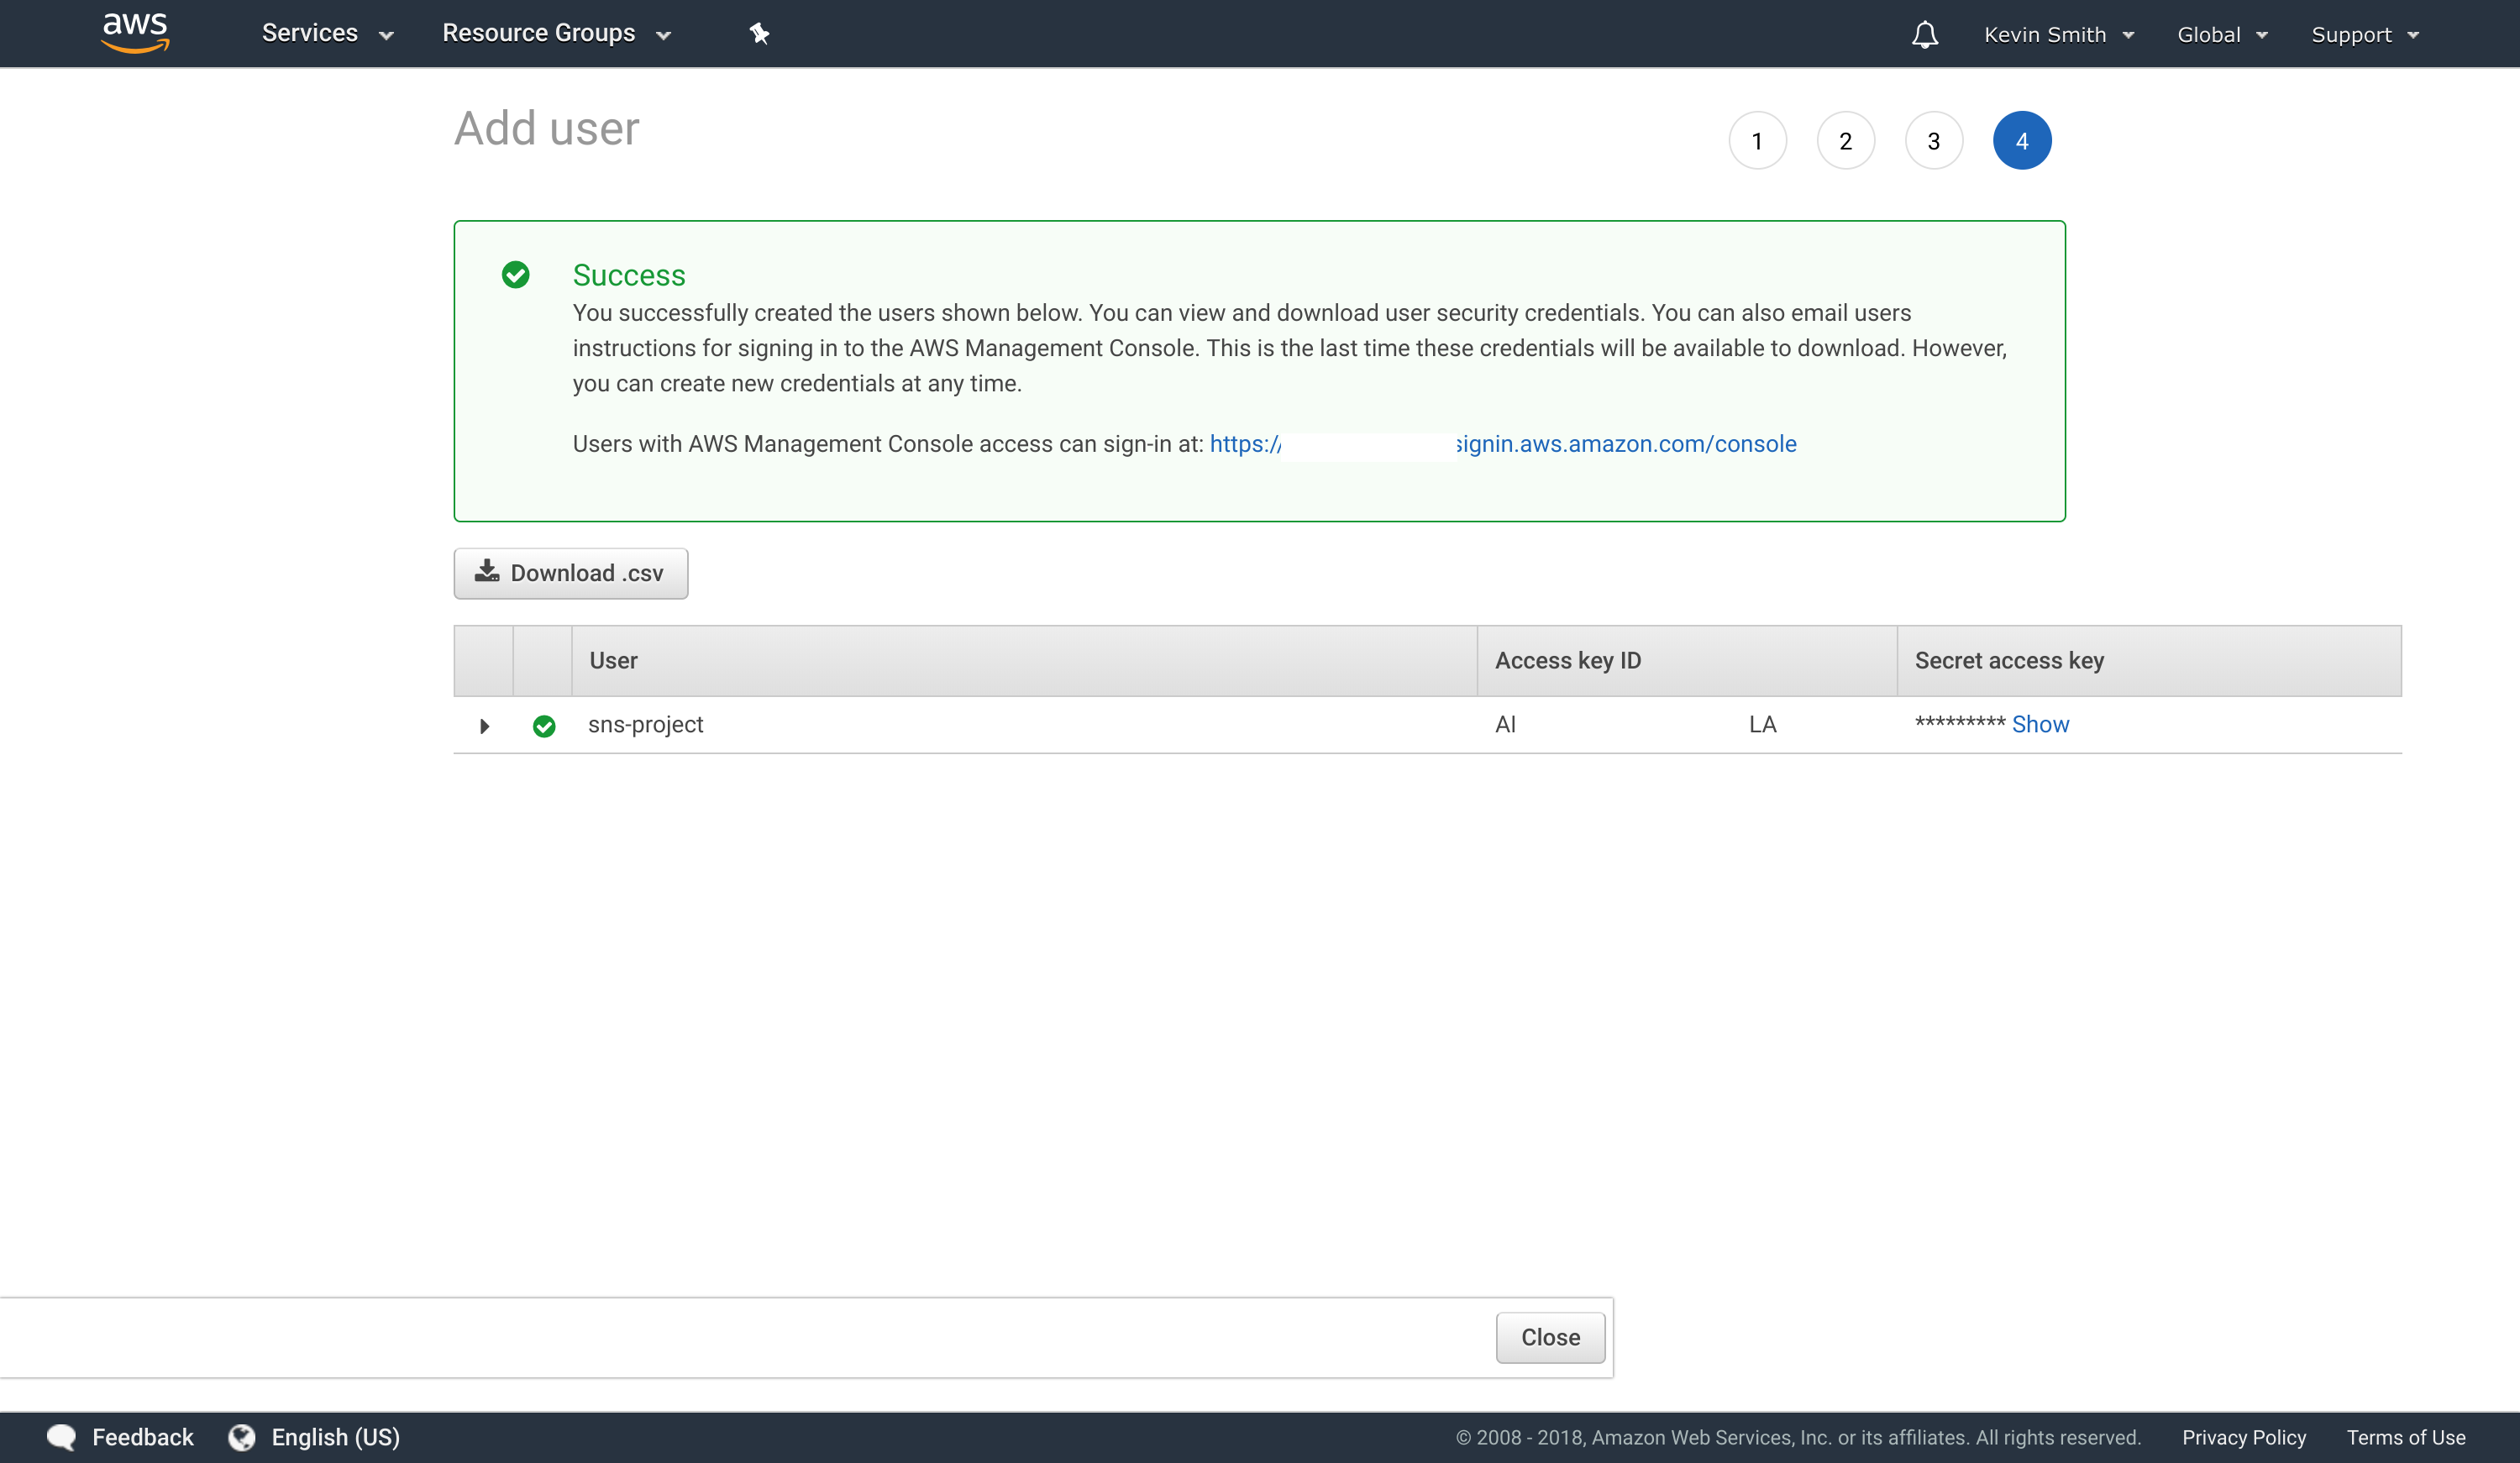
- Copy your IAM access key ID and secret IAM access key to notepad – you’ll need these in a moment. These will be what we plug into our credentials file
- Lastly, let’s go back to our SSH window and edit the credentials file to add the aws_access_key_id a d aws_secret_access_key from the console in place the “…” we originally put in the credentials file.
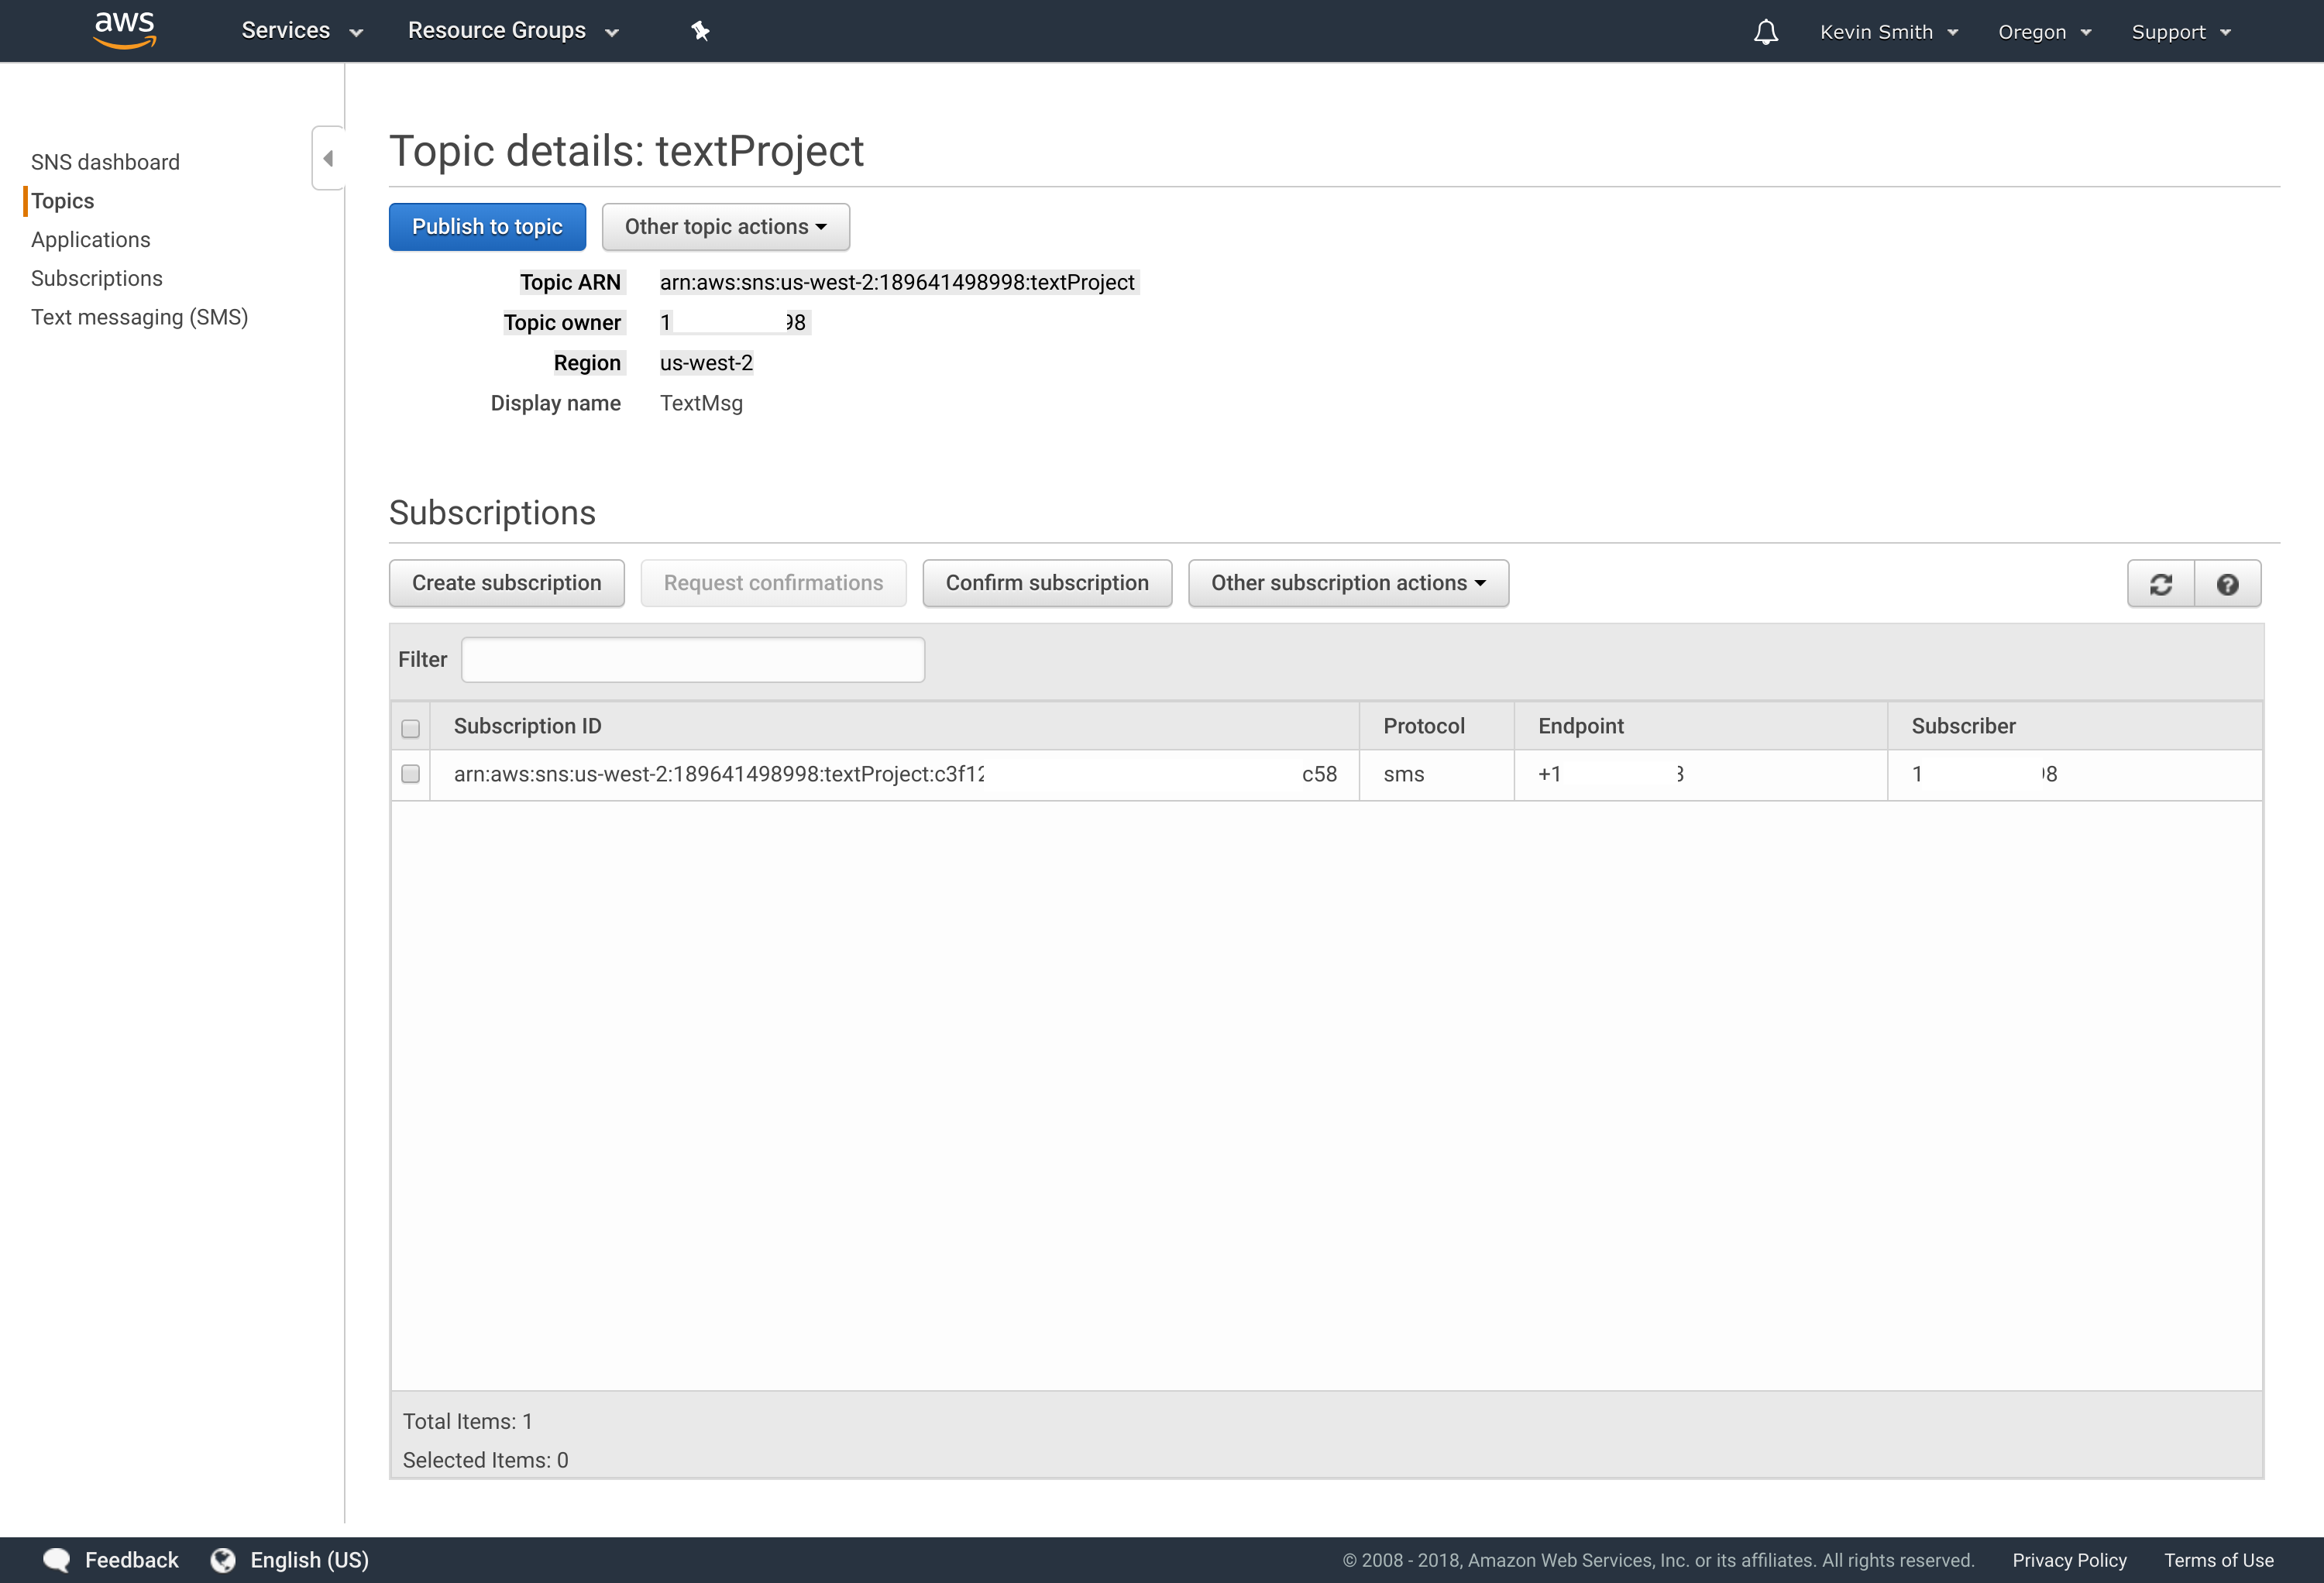
Step 3: Setting up your SNS Topic
We’re finished with the one-time setup portion of this project. The rest can be a rinse-and-repeat process if you want to setup multiple projects. For this example, I’m just going to setup a topic to send me SMS/text messages but SNS supports a number of different actions.
Step 4: The PHP Script
This example will just publish a static message but it should be simple enough to expand to your use-cases/projects. I’ve commented what’s happening inline below but a few callouts…
- Your profile (“sns-project”) should match what you set in your credentials file. Example screenshot here.
- Your region has to match the region in which you created your SNS topic.
- If you’re using something other than SMS messaging for delivery, you can specify additional parameters in the array below.
<?php
putenv('HOME=/home/bitnami'); //Define the home location so can trigger from other locations (cronjobs, for example)
require '../vendor/autoload.php'; //Load the SDK
use Aws\Sns\SnsClient; //Specify  the SNS client from the SDK
$client = SnsClient::factory(
  array(
     'sns-project', //This should match your profile name in the credentials file
     'region' => 'us-west-2', //The region you created your SNS topic (is also noted in your AWS SNS console)
     'version' => '2010-03-31', //The API version to use - no need to modify
  )
);
$payload = array(
     'TopicArn' => 'arn:aws:sns:us-west-2:189998:sns-project', //The topic ARN from your AWS console
     'Message' => 'This is the content of your text message', //The content of your message.  If you're using email, you can also add Subject to this array to set subject line
     'MessageStructure' => 'string', );
try {
      $client->publish( $payload );
      echo 'Success!';
} catch ( Exception $e ) {
      echo "Failure!\n" . $e->getMessage();
}
From here, you should be good to go!