Converting text to speech with AWS Polly

I wanted to try my hand at using the AWS Polly text-to-speech service.  Polly offers several different voices and supports multiple languages, most of which sound pretty good, especially if you use SSML when passing text.  SSML is where the character of the speech (rate, tone, pitch, etc) come into play.  See here for more detail.

What I’ve done is created a script to interact with the AWS Polly API using PHP and store the output into an S3 bucket.  Click here to try it out.

Step 1: Creating the IAM User

This has been outlined in many prior posts so I won’t go into detail.  We’ll be using the AmazonS3FullAccess and AmazonPollyFullAccess permission policies (screenshot of my user summary here).  If you don’t plan on saving the results to S3, you don’t need the S3 policy attached (obviously).

Step 2:  Converting our text to speech

<?php
require '/home/bitnami/vendor/autoload.php'; 

//Prep the Polly client and plug in our IAM credentials
use Aws\Polly\PollyClient;
$clientPolly = new PollyClient([
'version' => 'latest',
'region' => 'us-west-2', //I have all of my AWS stuff in USW2 but it's merely preference given my location.
'credentials' => [
  'key' => '', //IAM user key
  'secret' => '', //IAM user secret
 ]]);

//Configure our inputs and desired output details
$resultPolly = $clientPolly->synthesizeSpeech([
'OutputFormat' => 'mp3',
'Text' => "<speak>This is my example.</speak>",
'TextType' => 'ssml',
'VoiceId' => 'Joey', //A list of voices is available here: https://docs.aws.amazon.com/polly/latest/dg/voicelist.html
]);

//Get our results
$resultPollyData = $resultPolly->get('AudioStream')->getContents();

?>

Step 3: Saving the MP3 file to S3

<?php
//Set timezone to use in the file name
date_default_timezone_set('America/Los_Angeles');

//Prep S3 client and plug in the IAM credentials
$clientS3 = new Aws\S3\S3Client([
'version' => 'latest',
'region' => 'us-west-2', //Region of your S3 bucket
'credentials' => [
  'key' => '', //Same IAM user as above
  'secret' => '',  //Same as above
 ]]);

//Put the Polly MP3 file to S3
$resultS3 = $clientS3->putObject([
  'Key'         => date("Y-m-d_H:i:s").'.mp3',
  'ACL'         => 'public-read',
  'Body'        => $resultPollyData,
  'Bucket'      => 'fkpolly',
  'ContentType' => 'audio/mpeg',
  'SampleRate'  => '22050'
]);

//Return a link to the file
echo "<a href=\"".$resultS3['ObjectURL']."\">Listen</a>";
?>

Try It Out

I’ve saved my example for ongoing tinkering.  Click here to try it out.

WordPress Plugin Recommendations – 2018 Edition

I’m not an optimization expert nor am I a WP power user but I have been using the platform for over ten years.  I have a strong preference for plugins that are lightweight, easy-to-implement and configure, and have a clean removal (plugins which leave artifacts are a huge pet peeve of mine).  Here’s a list of my must-have plugins for almost all WordPress installations.

WordFence

My complaints with WordFence surround it’s initially annoying push for upgrading to the premium version. You can dismiss/hide those, though, which leaves you with a pretty effective solution at thwarting most low-end abusive crawlers/sniffers. The highlight is the threshold with auto-block feature which allows you to block traffic if activity breaches certain thresholds.  It just makes things easy.

Wordfence Security – Firewall & Malware Scan

Instant Images

Although not my area of interest, it’s handy.  Instant Images pulls free-to-use (under the CC0 license) images from UnSplash directly into your WordPress media library.  It saves a few clicks and makes things easier when in need for stock images.

Instant Images – One Click Unsplash Uploads

Velocity

Velocity is a nifty plugin that allows you to embed YouTube/Vimeo/SoundCloud media without loading the heavy iframes/JS libraries until the user engages with the media.  This saves a ton on overall load time/size.  It also allows you to set a custom preview image for your embedded media so that’s a small plus.  Using this plugin, I reduced my page load size from 1.73mb to 634kb and reduced the number of requests onload from 89 to 59 — this is a 1 second decrease in pageload for devices on 3G networks!

Velocity – WordPress Lazy Load for Video and Audio

commonWP

commonWP is a plugin which uses the jsDelivr CDN for common WordPress JS files.  It’s super easy and low-risk to implement thanks to really well thought out work from the creator.  I hope this expands to CSS files in the near future.

commonWP

Enlighter

Enlighter is an easy-to-use syntax highlighter that supports most languages.  While there are several syntax highlighters out there, I like this one in particular for it’s easily modifiable CSS and clean editor integration.

Enlighter – Customizable Syntax Highlighter

WP Mail SMTP

As the name suggests, this plugin enables easy use of SMTP for mail on your WordPress installation.  No need to go deeper than your WP-Admin pages to configure mail for your WordPress installation.  The downside is that it was recently acquired by WPForms so I’m guessing it’ll be turned into an intrusive, premium-hocking version in the near future.

WP Mail SMTP by WPForms

Using Natural Language Processing (AWS Comprehend) to Analyze Text (Cardi B Lyrics)

Humans spend a lot of time reading, analyzing, and responding through text (emails, chats, etc). A lot of this is inefficient or not for pleasure (such as the amount of payroll companies spend to read through feedback emails or the amount of time I spend sifting through Outlook each day). Using Natural Language Processing (NLP), we can reduce the inefficient and not-for-pleasure reading we do so that time can be re-invested into something more productive or fulfilling.

For fun, I scrapily ran the lyrics to Cardi B’s “I Like It” through AWS Comprehend to see what its response would be. I also ran a review of Mission Impossible: Fallout through the same service.  The full output for Cardi B can be viewed here.  The full output for Mission Impossible: Fallout can be viewed here.

While these are low value examples, a more real-world use case for Comprehend could be using AWS Comprehend to detect the language of emails sent to your company to adjust the routing destination in real-time (should they go to you English team or your Spanish?). Another example would be using Comprehend to collect feedback on your new product launch or ad campaign. For example, we could easily capture Twitter mentions for a brand, funnel those into an S3 bucket, and run the contents of that buck to split out negative vs positive vs neutral vs mixed sentiment mentions. From there, we could surface the most frequent adjectives and entities mentioned for each group of each sentiment bucket. It’s a cheap, quick way to customer capture and analyze feedback that would otherwise be ignored.

Initial Setup
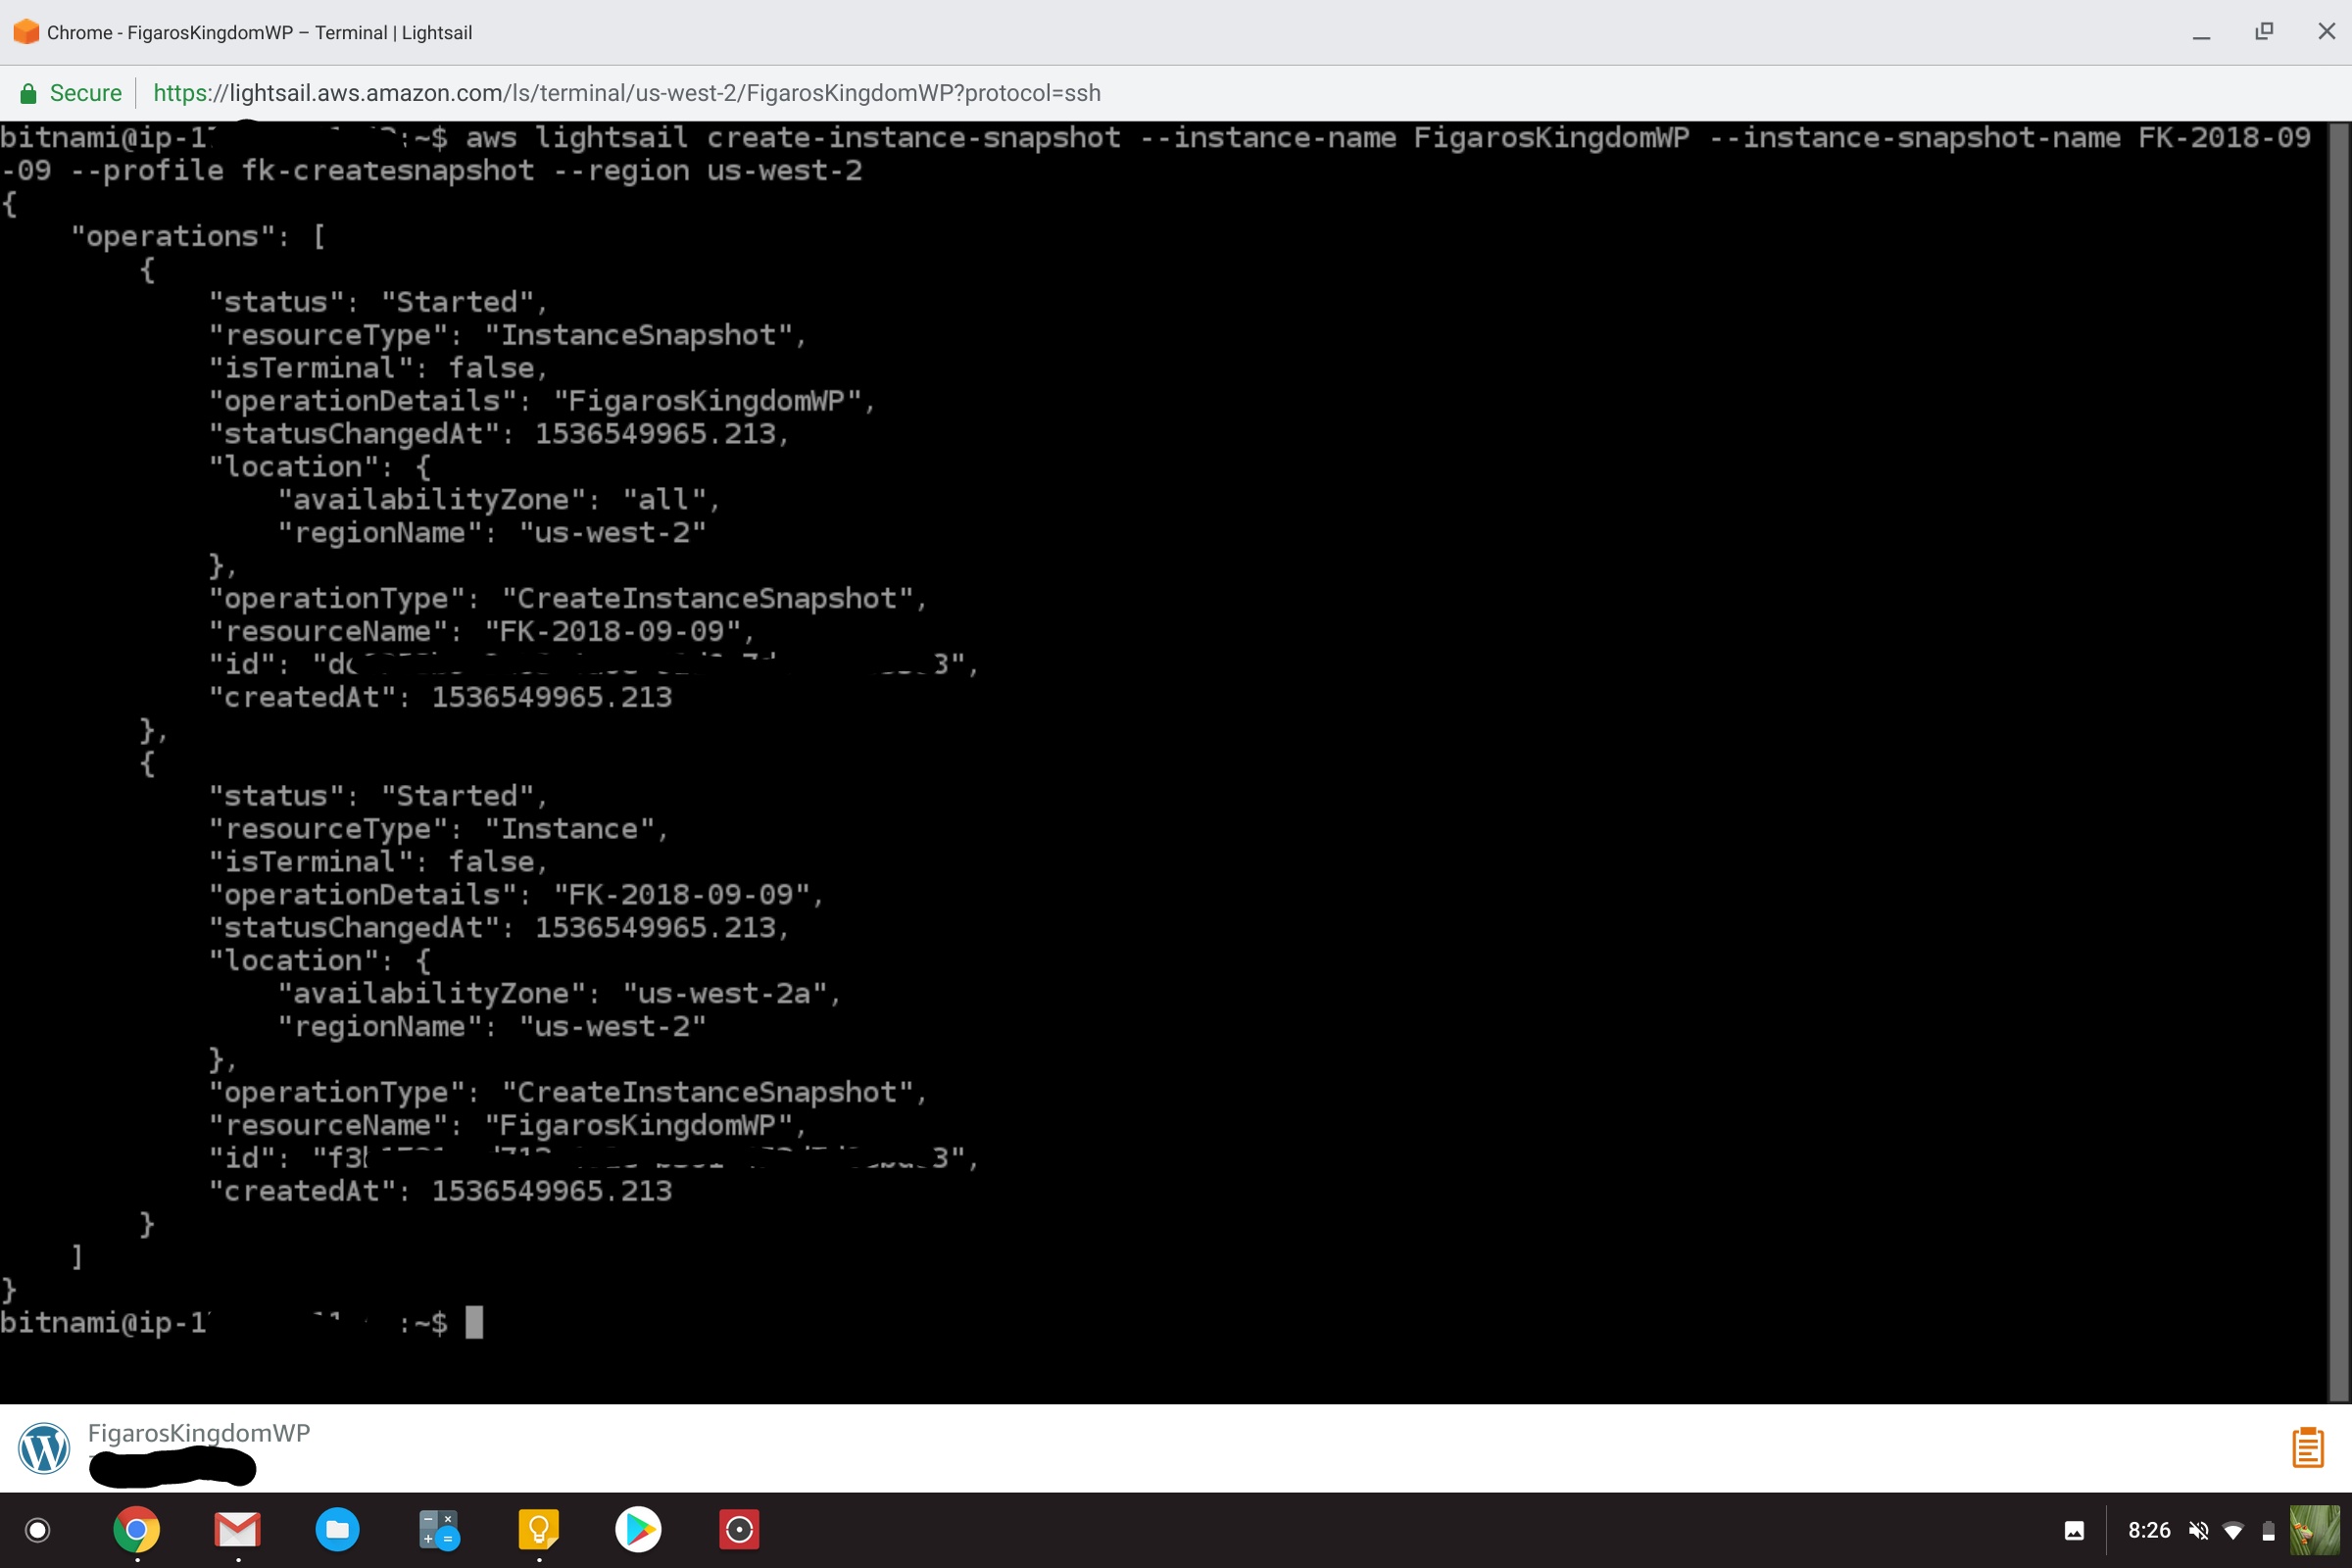
In each of the last couple of posts, I’ve outline how to create an IAM user for your project so I won’t repeat that again.  After we have our IAM user created and the credentials added to our /.aws/credentials file, we’ll import the AWS PHP SDK and ComprehendClient.  Next, we’ll create a Comprehend client, define the API version, region, and credentials profile to use:

<?php

require '/home/vendor/autoload.php'; 
use Aws\Comprehend\ComprehendClient;

$client = new Aws\Comprehend\ComprehendClient([
    'version'     => '2017-11-27',
    'region'      => 'us-west-2',
    'profile'     => 'fk-comprehend',
]);
$review="Your Comprehend text";

Exploring the Options
In this example, we’ll detect the language(s), entities (objects, businesses, etc), key phrases, sentiment, and syntax (parts of speech) of our sample texts (Cardi B lyrics and a movie review).  For all of these except DetectDominantLanguage, the language is a required input.  If we use Comprehend to identify that first, then we can simply repeat its output in later functions.  For each output, Comprehend also spits out a confidence score which basically  tells you how confident it is in the output.  This could be used to ignore low-confidence suggestions, thus increasing the accuracy of the models you build using Comprehend.

DetectDominantLanguage Example
This will detect the language and spit out the ISO abbreviation.

//Detecting Dominant Language
$result = $client->detectDominantLanguage([
    "Text" => "$review",
]);

echo "<h1>DetectDominantLanguage</h1><pre>";
print_r($result);
echo "</pre>";

foreach ($result['Languages'] as $phrase) {
    echo "Language ".$phrase['LanguageCode']." has a confidence score of ".round($phrase['Score']*100)."%.<br />";
}

DetectSentiment Example

//Detecting Sentiment
$result = $client->detectSentiment([
    "LanguageCode" => "en",
    "Text" => "$review",
]);

echo "<h1>DetectSentiment</h1><pre>";
print_r($result);
echo "</pre>";

echo "Sentiment: ".$result['Sentiment']."<br />";
echo "Positive: ".round($result['SentimentScore']['Positive']*100)."%<br />";
echo "Negative: ".round($result['SentimentScore']['Negative']*100)."%<br />";
echo "Neutral: ".round($result['SentimentScore']['Neutral']*100)."%<br />";
echo "Mixed: ".round($result['SentimentScore']['Mixed']*100)."%<br />";

DetectKeyPhrases Example

//Detecting KeyPhrases
$result = $client->detectKeyPhrases([
    "LanguageCode" => "en",
    "Text" => "$review",
]);

echo "<h1>DetectKeyPhrases</h1><pre>";
print_r($result);
echo "</pre>";

foreach ($result['KeyPhrases'] as $phrase) {
    echo "Phrase ".$phrase['Text']." has a score of ".round($phrase['Score']*100)."%.<br />";
}

DetectSyntax Example

//Detecting Syntax
$result = $client->detectSyntax([
    "LanguageCode" => "en",
    "Text" => "$review",
]);

echo "<h1>DetectSyntax</h1><pre>";
print_r($result);
echo "</pre>";

foreach ($result['SyntaxTokens'] as $syntax) {
    echo "Phrase ".$syntax['Text']." is as ".$syntax['PartOfSpeech']['Tag']." (with ".round($syntax['PartOfSpeech']['Score']*100)."% confidence).<br />";
}

DetectEntities Example

//Detecting Entities
$result = $client->detectEntities([
    "LanguageCode" => "en",
    "Text" => "$review",
]);

echo "<h1>DetectEntities</h1><pre>";
print_r($result);
echo "</pre>";

foreach ($result['Entities'] as $syntax) {
    echo "Phrase ".$syntax['Text']." is as ".$syntax['Type']." (".round($syntax['Score']*100)."% confidence).<br />";
}

The Results for Cardi B and Tom Cruise

The full output for Cardi B can be viewed here.  This one is the most interesting of the two as “I like it” has a Spanish verse.  You can see how Comprehend dealt with it when it was passed as English.  It also does a good job of determining when “bitch” is a noun vs an adjective except in the line “Where’s my pen? Bitch I’m signin'” — I’m unsure as to why.

The full output for Mission Impossible: Fallout can be viewed here.  The interesting piece here is the sentiment analysis: NEUTRAL (8% positive, 36% negative, 39% neutral, and 17% mixed).  After reading the review, I would say this is pretty in-line with the reviewer and Comprehend did a good job of identifying the overall sentiment of the article.

Automatically Creating Lightsail Instance Snapshots

Given the target audience of Lightsail, I would expect UI-based functionality for automating snapshots and other common tasks; however, this doesn’t exist.  Creating snapshots is an important task – I create snapshots before I make any major changes and every few days.  In the event I screw something up or if something happens to my instance, I can simply spin up a new instance from an old snapshot – no big deal.

In addition to the lack of UI-based functionality, the default IAM policies don’t apply to Lightsail, either.  Given the age of Lightsail, I would think this would be built into IAM default policies by this point.

In the guide below, we’ll:

  1. Create an IAM policy to manage our Lightsail snapshots
  2. Create an IAM user to use that IAM policy
  3. Add our IAM user to our AWS credentials file
  4. Create a Lightsail snapshot using the AWS CLI

Beyond creating snapshots, there AWS CLI offers all commands needed to manage Lightsail – I encourage you to explore: https://docs.aws.amazon.com/cli/latest/reference/lightsail/index.html

Create the needed IAM Policy

  1. From the IAM page of the AWS Console, select Policies.
  2. From there, click “Create Policy” and select the json tab.  We’ll use this policy which will limit actions to just the creation and listing of instance snapshots:
    {
        "Version": "2012-10-17",
        "Statement": [
            {
                "Sid": "VisualEditor0",
                "Effect": "Allow",
                "Action": [
                    "lightsail:GetInstanceSnapshot",
                    "lightsail:GetInstanceSnapshots",
                    "lightsail:CreateInstanceSnapshot"
                ],
                "Resource": "*"
            }
        ]
    }

    Here’s a screenshot of the inputs.

  3. Click “Review Policy” and then we’ll give it a name (I’ve used “LightsailSnapshotCreate”) and then click “Create Policy”

Create the needed IAM User

  1. Back on the IAM page of the AWS Console, click on Users.
  2. We’ll name the user (I’ve used “FKSnapshotCreate” and check the “Programmatic Access” box.  Screenshot.
  3. On next page, we’ll attach the policy we created (“LightsailSnapshotCreate”) and create the user.  Screenshot.
  4. Lastly, we’ll copy the access ID and key into our credentials file.  Screenshot.

Adding the IAM User Access Key/Access ID to our Credentials file

  1. Open your credentials file and add in another user (as described here).
  2. In my project, I have a user named “fk-createsnapshot” so my credentials file looks something like this.

Creating a snapshot using AWS CLI

  1. Now that we have everything configured, we just need to run the command.  We’ll do this with the following command:
    aws lightsail create-instance-snapshot --instance-name FigarosKingdomWP --instance-snapshot-name FK-2018-09
    -09 --profile fk-createsnapshot --region us-west-2

    “–instance-name FigarosKingdomWP” – this is the name of the instance from the Lightsail console that you’re wanting to snapshot.
    “–instance-snapshot-name FK-2018-09-09” – this is the name of the snapshot.  It can be anything you like.
    “–profile fk-createsnapshot” – this is the IAM User (same one we created above) that we want to use with this command.
    “–region us-west-2” – this is the region of the instance.

  2. Once executed, you should see output similar to this:
  3. Browse to the Lightsail Console and you should see your new snapshot: screenshot.

Creating a shell script to automate snapshots

We’ll create a shell script (I’m using fk-createsnapshot.sh) and add in our command.  I’ve also added variables for the date so that the snapshot name matches the date.  You can find more about this here.  Here’s my fk-createsnapshot.sh:

#!/bin/bash 
aws lightsail create-instance-snapshot --instance-name FigarosKingdomWP --instance-snapshot-name FK-$(date +%Y-%m-%d) --profile fk-createsnapshot --region us-west-2

Adding a cron job to run the shell script

In our crontab (crontab -e), we’ll set it to run at 3am every day (adjust to your script location):

0 3 * * * /home/bitnami/fk-createsnapshot.sh

It may be a good idea to set it to run sooner just to verify that everything is working as intended.  Otherwise, you’ll start seeing new snapshots appear in your Lightsail console every day at 3am!

Using this same approach, you can take pretty much all actions for your Lightsail instances directly through the CLI.  Check out the AWS CLI documentation for more.


Using AWS Lambda to Send SNS Topics in CloudWatch

AWS Lambda enables you to run code without managing a server.  You simply plop in your code and it does the rest (no maintenance, scaling concerns, etc).  The cost is only $0.20 per 1 million requests/month and the first million requests are free each month.

In the previous post, I setup an SNS topic. I’m extending this further so that a node.js function will be triggered in AWS Lambda each time my SNS topic is triggered. This Lambda function will feed metrics into AWS CloudWatch which will allow me to chart/monitor/set alarms against events or patterns with my SNS topic.  A practical use case for this could be understanding event patterns or logging SNS messages (and their contents) sent to your customers.

Creating your Lambda Function

From the Lambda page of the AWS console, select “Create Function”.  From here, we’ll author from scratch.  Below are the inputs I’ve used for this example:
Name: SNSPingerToCloudWatch
Runtime: Node.js 8.10
Role: Choose and existing role
Existing role: lambda_basic_execution

On the page after selecting “Create Function”, we’ll click “SNS” from the “Add Triggers” section and then select our SNS topic in the “Configure Triggers” section.  Then click “Add” and “Save”.  Here’s a screenshot of the final state.

Next, click on your function name (SNSPingerToCloudWatch) in the flow chart and scroll to edit the function code.
The JS we’ll use:

exports.handler = async (event, context) => {
    const message = event.Records[0].Sns.Message;
    console.log('Pinger says:', message);
    return message;
};

Under Basic Settings, I’ve set the timeout duration to 5 seconds (because that’s the timeout duration I have set in my SNS topic PHP script) You can add descriptions, throttles, etc but I’m leaving those at the defaults.  Here’s a screenshot of my final config for this Lambda function.

Once complete, click “Save” again and then we’re ready to test. I manually fired my SNS topic and jumped over to the “Monitoring” tab of the console. It took a minute or so but I saw my event appear. From here, you can view the log details in CloudWatch, as well.

Publish to AWS SNS Topic With PHP

Simple Notification Service (SNS) is a handy AWS product which enables programmatic publication and subscription to topics.  They can be as simple as email or SMS or involve more complicated services complicated like Lambda, SQS, HTTP, etc.  The write-up below walks through the process end-to-end from installing the AWS PHP SDK to publishing your first message as an SMS/text message.  With a small amount of additional effort, one could quickly expand this to use cases like weather/emergency notifications for office buildings/schools.

The first two steps are one-time setup, walking through AWS PHP SDK installation and IAM Role creation (something new to me).  The remaining steps are a rinse-and-repeat process so future SNS projects should only take minutes to setup.  For this example, I spun up a LAMP instance in Lightsail so my approach is tailored to this default config.

Step 1: Installing/Prepping the AWS PHP SDK

We’re going to do this by using Composer so let’s install that: curl -sS https://getcomposer.org/installer | sudo php Next, we’ll create composer.json to add the right dependency for the AWS SDK: sudo nano composer.json And inside composer.json, we’ll add this requirement:

{
    "require": {
        "aws/aws-sdk-php": "2.*"
    }
}
Lastly, we’ll install the dependencies: php composer.phar install The end result should be the presence of ./vendor for your project directory.  This is where the needed libraries will live and an autoloader script which you’ll add as a requirement to your project (noted below).

The next thing we’ll do is setup the the credentials file to house the IAM credentials for this project (and any future projects).  We’ll do this by creating a .aws directory and then creating a credentials file within that directory: sudo mkdir .aws cd ./.aws sudo nano credentials The credentials file structure is outlined in detail here.  Our credentials file will look like: [sns-project] aws_access_key_id = ... aws_secret_access_key = ... Here’s a recording of step 1 as I went through it:

Step 2: Creating the IAM credentials for your project

Now, let’s create the IAM credentials we’ll need to plug into the credentials file.

  1. Navigate to the IAM Console and select “Users”.  Click “Add User“.
  2. Name your project (should match what you’ve loaded in your credentials file- ours is “sns-project”) and check the Programmatic Access box.
  3. Use the existing “AmazonSNSFullAccess” policy and click “Review” to verify everything is correct.
  4. Copy your IAM access key ID and secret IAM access key to notepad – you’ll need these in a moment.  These will be what we plug into our credentials file
  5. Lastly, let’s go back to our SSH window and edit the credentials file to add the aws_access_key_id a d aws_secret_access_key from the console in place the “…” we originally put in the credentials file.

Step 3: Setting up your SNS Topic

We’re finished with the one-time setup portion of this project.  The rest can be a rinse-and-repeat process if you want to setup multiple projects.  For this example, I’m just going to setup a topic to send me SMS/text messages but SNS supports a number of different actions.

Step 4: The PHP Script

This example will just publish a static message but it should be simple enough to expand to your use-cases/projects.  I’ve commented what’s happening inline below but a few callouts…

  • Your profile (“sns-project”) should match what you set in your credentials file.  Example screenshot here.
  • Your region has to match the region in which you created your SNS topic.
  • If you’re using something other than SMS messaging for delivery, you can specify additional parameters in the array below.

<?php 
putenv('HOME=/home/bitnami'); //Define the home location so can trigger from other locations (cronjobs, for example)
require '../vendor/autoload.php'; //Load the SDK
use Aws\Sns\SnsClient; //Specify  the SNS client from the SDK 
$client = SnsClient::factory(
  array(
     'sns-project', //This should match your profile name in the credentials file
     'region' => 'us-west-2', //The region you created your SNS topic (is also noted in your AWS SNS console)
     'version' => '2010-03-31', //The API version to use - no need to modify
  )
);
$payload = array(
     'TopicArn' => 'arn:aws:sns:us-west-2:189998:sns-project', //The topic ARN from your AWS console
     'Message' => 'This is the content of your text message', //The content of your message.  If you're using email, you can also add Subject to this array to set subject line
     'MessageStructure' => 'string', ); 
try {
      $client->publish( $payload );
      echo 'Success!';
} catch ( Exception $e ) {
      echo "Failure!\n" . $e->getMessage();
}
From here, you should be good to go!

WordPress Blog on AWS for $5

I’ve been with multiple webhosts over the years (DreamHost, Host Gator, Site5, 1and1, SiteGround, and I’m probably forgetting a few) and even ran a reseller of my own for a several years.  In the past few years, large groups like Endurance International Group have been gobbling up mom-n-pops operations like Site5 and Host Gator and immediately making cuts to customer service and, in some cases, product/service quality.  For running small personal blogs and websites, though, their prices are near impossible to beat. I’ve been wanting to take the plunge into AWS for a while now but my projects and their scale haven’t aligned to make it cost-effective for me, a hobbyist.  In late 2016, however, AWS launched LightSail which enables you to launch a virtual private machine with numerous pre-configured images for as little as five bucks a month.  That’s SSD storage (overkill for this scale of project but still a nice feature), healthy transfer limits, free static IP, and the ease of scale that AWS has built themselves on and the end result is a super nice product that acts as a gateway for enabling full migration to AWS.  After literally two or three minutes of playing, I had already spun up a new LAMP VPS with WordPress pre-installed.  10 minutes later, I’d migrated my blog (this blog) from WordPress.com back to self-hosting and purchased a dedicated domain.  Within an hour, I’d setup processes on seven AWS products and learned that the massive list of AWS products shouldn’t look as daunting as it appears on their landing page.  I put together the guide below to  encourage others with interest and hesitation to take the plunge and try it out…

Launching WordPress on Lightsail

  1. Visit Lightsail and setup an AWS account if you don’t already have one.
  2. Select “Create Instance” and select the WordPress image.
  3. Select your key pair; I suggest you create a new one to keep things isolated.  Unless you plan on using this for things other than WordPress, you won’t need it anyway thanks to the browser-based SSH available in the Lightsail UI.
  4. Select your instance plan.  The cool thing about AWS is they make it incredibly easy to move and scale (up or down).  If you want to change the specs of your instance in the future, just take a snapshot of your existing instance , spin up your new instance, and then migrate the IP — it’s all less than 10 clicks.
  5.  Give a relevant name to your instance and click create.  Within a minute or so, it’ll be live and you’ll be able to attach your free IP.

Registering and pointing a domain name to Lightsail via Route 53

  1. Visit Route 53 and select Domain Registration.  The pricing is very competitive for TLDs and they offer free privacy protection for WhoIs which is a nice bonus.
  2. After completing registration and the request is out of pending status (~5 minutes), go to “Registered Domains” and click on the new domain you just registered.
  3. Click the “Manage DNS” button then select “Create Record Set”.
  4. Flip back to the Lightsail console for your instance and select “Create a DNS zone”
  5. Set your A record for your domain to point to your Lightsail static IP.  You should have a record for your domain with and without the www prefix.  Copy the four nameservers at the bottom of the page.
  6. Back in the Route 53 console, set the nameservers (NS) to the four nameservers you copied from Lightsail and set the TTL to 1 minute before saving.  If you don’t adjust this before saving, your changes will not be recognized until the default TTL has lapsed (which is two days).  Leave the routing policy set to Simple and click Create.
  7. Return to the Lightsail console and copy your public IP.
  8. Return to Route 53 and add two new A records: 1 A record without the www prefix and 1 with the www prefix.  Again, set the TTL to 60 seconds before creating.
After your new domain name propagates, you’ll be ready to go.  Meanwhile, you can finish your WordPress setup via the public IP.

Setting up email with Lightsail and AWS SES

If you don’t plan on sending or receiving email, this isn’t necessary.  You can setup other mail configurations with Lightsail but I’m opting to utilize AWS Simple Email Service (SES) because it’s the easiest and it makes monitoring of metrics simple.  These next few steps will enable you to retrieve forgotten WordPress passwords and receive email notices from your WordPress instance.
  1. Visit the SES page of the AWS console and select Domains from the left menu.
  2. Next, click the “Verify a New Domain” button, enter your domain name, and check the “Generate DKIM Settings” box – you’ll want this to give your mails additional credibility with email service providers (thus reducing your likelihood of being caught in spam filtering).
  3. After clicking “Verify this Domain”, the next page will share the TXT, CNAME, and MX DNS records needed but, because you purchased your domain within the AWS ecosystem, it’ll create those for you when you select “Use Route 53”.
  4. Ensure all four boxes are checked for “Domain Verification Record”, “DKIM Record Set”, “Email Receiving Record”, and “Hosted Zones” then click “Create Record Sets”.  After a couple of minutes, the domain status in SES should reflect “Verified”/”Yes” for status, DKIM, and enabled for sending.
If you don’t plan on sending emails to anyone except yourself (ie password resets and other notifications from your WordPress instance), click “Email Addresses” from the left menu and verify your personal email address.  This will be the only address your instance can send mail to via SES unless you proceed with the following additional steps…  Proceed depending on your needs/desires. By default, SES accounts are in Sandbox mode which prevents sending mail to addresses which aren’t verified.  To get out of Sandbox mode, we need to do a few things to comply with the SES requirements.
  1. Go to “Configure Sets” from the SES left menu and click “Create Configuration Set”.  Give your set some general name (I called mine default), and select “Create Configuration Set” again.
  2. Select “Add Destination” and select “SNS” from the drop down menu.  Side note: SNS (Simple Notification Service) is another AWS product that’s pretty powerful/cool – I don’t discuss it here but you should read more about it.
  3. To get out of Sandbox, you have to have a process for handling bounces and complaints so, at a minimum, check those two boxes and give your destination some name (such as notifyMe).
  4. Select “Create SNS Topic”, give your topic a name (such as emailMe), and hit “Create Topic”.  Save your configuration set.
  5. Go to the Simple Notification Service page from the AWS console and select “Topics” from the left menu.
  6. Select your topic, select “Subscribe to Topic” from the “Actions” drop down menu.  The protocol will be email and the endpoint will be your personal email address.
  7. Lastly, we’ll create a case with AWS support to request a service limit increase for SES.   The configuration set and SNS topic we configured will enable you to select “Yes” for the “I have a process to handle bounces and complaints” question.  Once AWS Support gets back to you, you should now be able to send/receive mail.

Using WordPress plugins to send/receive mail

The rest is really up to personal preference.  Within the SES dashboard, you can view your SMTP settings which you can plug into any number of plugins available within WordPress.  I personally use WP Mail SMTP.   Below is the configuration needed for this particular plugin.
  1. From the plugin configration page within WordPress, the mailer selected should be “Other SMTP”
  2. The SMTP host will be the hostname in your AWS SES dashboard
  3. Encryption will be TLS and port is 587
  4. Authentication should be turned on
  5. The SMTP username and password will come from your AWS SES dashboard by clicking “Create My SMTP Credentials”.  Side note: what you’re actually doing is creating an IAM (Identity Access and Management) role.  IAM is actually yet another AWS product that you’ll be using as part of this project.  Similar to SNS, I won’t go into IAM but it’s also another cool/powerful AWS product.

Summary

This should get you fully up and running with a total time investment of less than 30 minutes and an ongoing cost of ~$5 per month.  Personally, the reward is in learning more about the AWS line of products.  Exploring around, you’ll see you can easily tie into other AWS services like creating CloudWatch monitors to monitor uptime/outages, expand your integration with SNS for notification of issues, etc.  Many of these are within the AWS Free Tier, too.  One last side note: you can create a CloudWatch monitor to monitor your costs and trigger an alert to an SNS topic when they breach a threshold.  If you’re playing around, I strongly encourage this as the AWS console doesn’t notify you of costs as you’re clicking away.

Indexing my movie collection

#FirstWorldProblems – having so many DVDs that you forget what you already own and end up buying multiple copies of the same movie.  While 126 movies isn’t a massive collection, it’s enough for me to sometimes forget what I have when I’m pillaging the $5 bins at Best Buy and Target.
To solve for this, I created a Google Sheets list of my collection so I could check what I have from my phone.  After typing all the titles into the list, I realized it’d be very easy for me to use the code I wrote for my DirecTV project to scrape additional details for the movies and create a nice, simple UI….so I did:
v1

What it does

  1. Using The Movie DB API, I pull several pieces of information about the film and store it locally: title, image, release date, rating, budget, revenue, runtime, synopsis, genres, cast, etc.
  2. Storing it locally reduces repetitive, slow API calls and allows me to cleanly add additional attributes like whether it’s DVD, Blu-Ray, Google Movies, Amazon Video, etc.
  3. Adding new titles is easy – I just type in the name and the rest of the details populate immediately.

 
There are two views: one shown above for desktop and another, more compact view, when a tablet or mobile device is detected:
v2
I’m not sure what’s next for this but it was a quick and fun project that connected my inner home automation and movie geeks.

The house is nearly complete

IMG_6533
In the past month, we’ve progressed to essentially 100% complete.  A few minor things and some touch-up work remain but, for the most part, the house is now complete.
Progress has been quick with much of the past month spent with interior and exterior work happening in parallel:

 
As of today, landscaping/exterior work is complete except for some small fence work.  We’ll be doing a few additional things in the future to build out the slope in the backyard but that’s most likely a project for next year:

 
The post-drywall interior has also come a long way in the past month:

 
We’ve planned our move for the week of the 24th.  Until then, it’s time to get busy packing and prepping to vacate the apartment.

Drywall, texture, and paint

After the siding was finished, the gutters and gas meter were installed before painting.  At this point, all exterior painting is complete pending some touch-up work.


On the interior, all drywall work is complete with texture and first coat of paint on.  After next steps (cabinets and flooring), we’ll have another coat of paint to ensure good coverage and to capture any damage from the flooring/cabinet installation.


The driveway is being prepped for pouring and the yard has been prepped for sod and landscaping.  We met with the landscaper POC last week to discuss our plans for the yard.  I suspect we’ll have the driveway poured within a week and landscaping will follow a week after that.  This leaves us with finishing up the interior over the next four weeks — installing flooring, cabinets, counters, light fixtures, and the air conditioner.  We’re still on schedule.  Seeing as we’ll be moving from a small, single bedroom apartment, our next few weekends will be focused on appliance and furniture shopping.